Learn how to make a Windows XP Progress Bar
using adobe Photoshop.![]()
Let's start.
>>open new document or press "Ctrl+n", we'll use 300x100x.
1) Choose white
color and pick the
Rounded Rectangle Tool(U) and set these settings:
Color=white , Radius=5px
Click on your document and draw a rounded rectangle.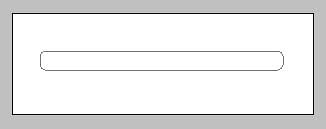
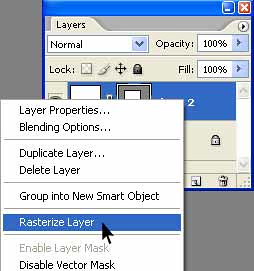
Click on "Rasterize Layer" shown on blow picture.
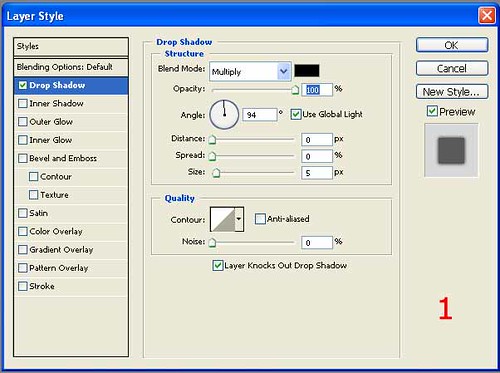
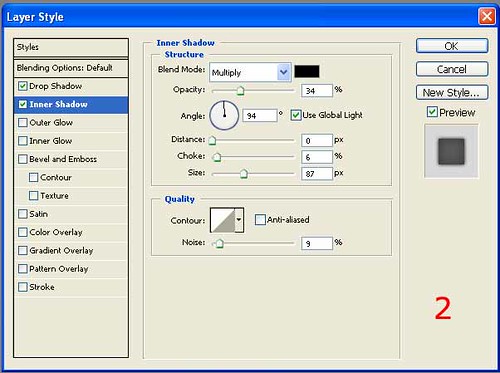
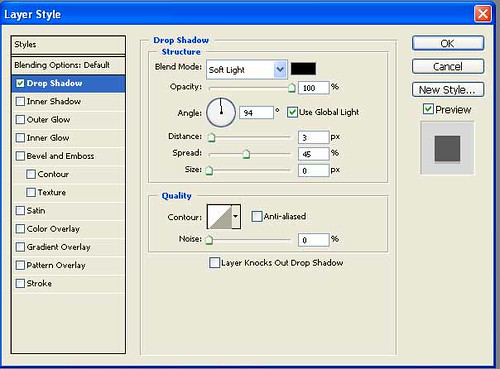
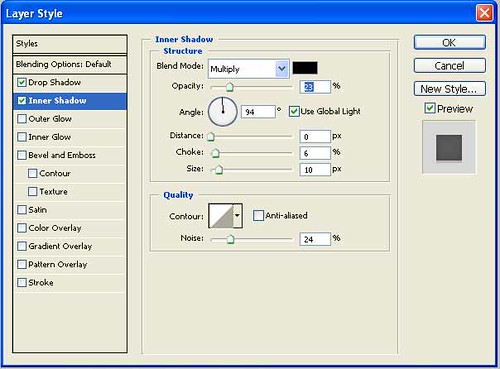
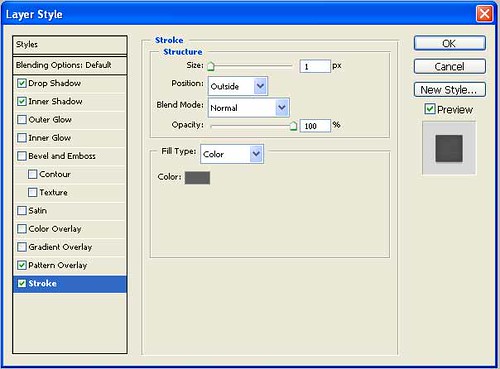
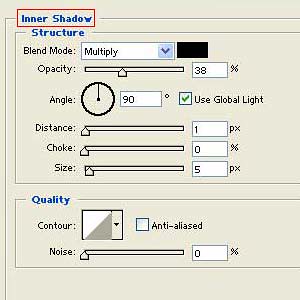
2)Making XP Progress Bar style
We're going to give it some inner stroke and shodow. Go to Layer >> Layer style >> Blending options and choose the following
settings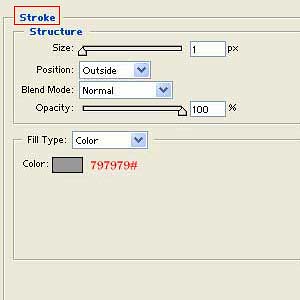
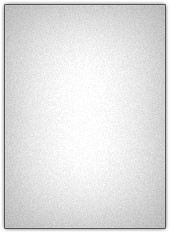
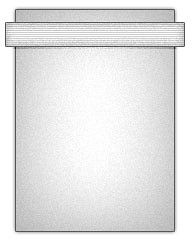
result: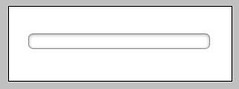
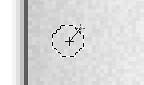
3)Make Progress Bar Content
Make a new layer (CTRL +SHIFT+ N)
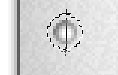
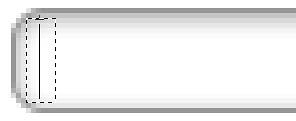
Create a rectangle selection like picture: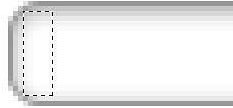
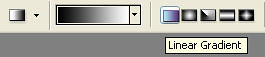
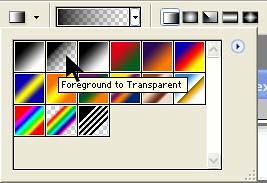
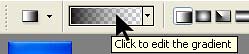
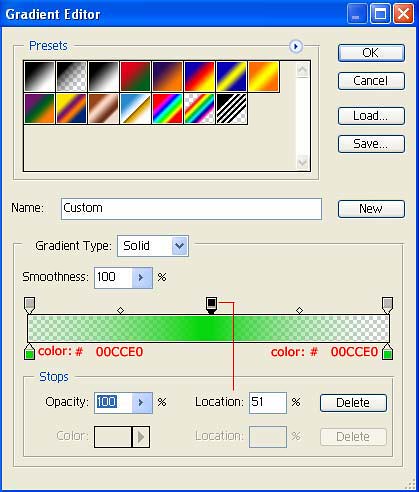
Pick Gradient tool(G) and follow this steps:![]()
Now press (Ctrl+D)
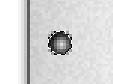
Result:
![]()
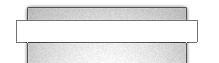
4)Complating The Progress Bar
Hold down Alt key and drag Rectangle for more
copy or go to "Layer->Duplicate Layer... ",
![]()
Finish Result :
Please send your feed back.We are all ears!